
Ducted and ductless
Heat Pump Installation in Marblehead
Winter warmth and summer cooling from the same equipment, placed so the bedrooms upstairs keep pace with the kitchen.
Comfort That Climbs the Stairs
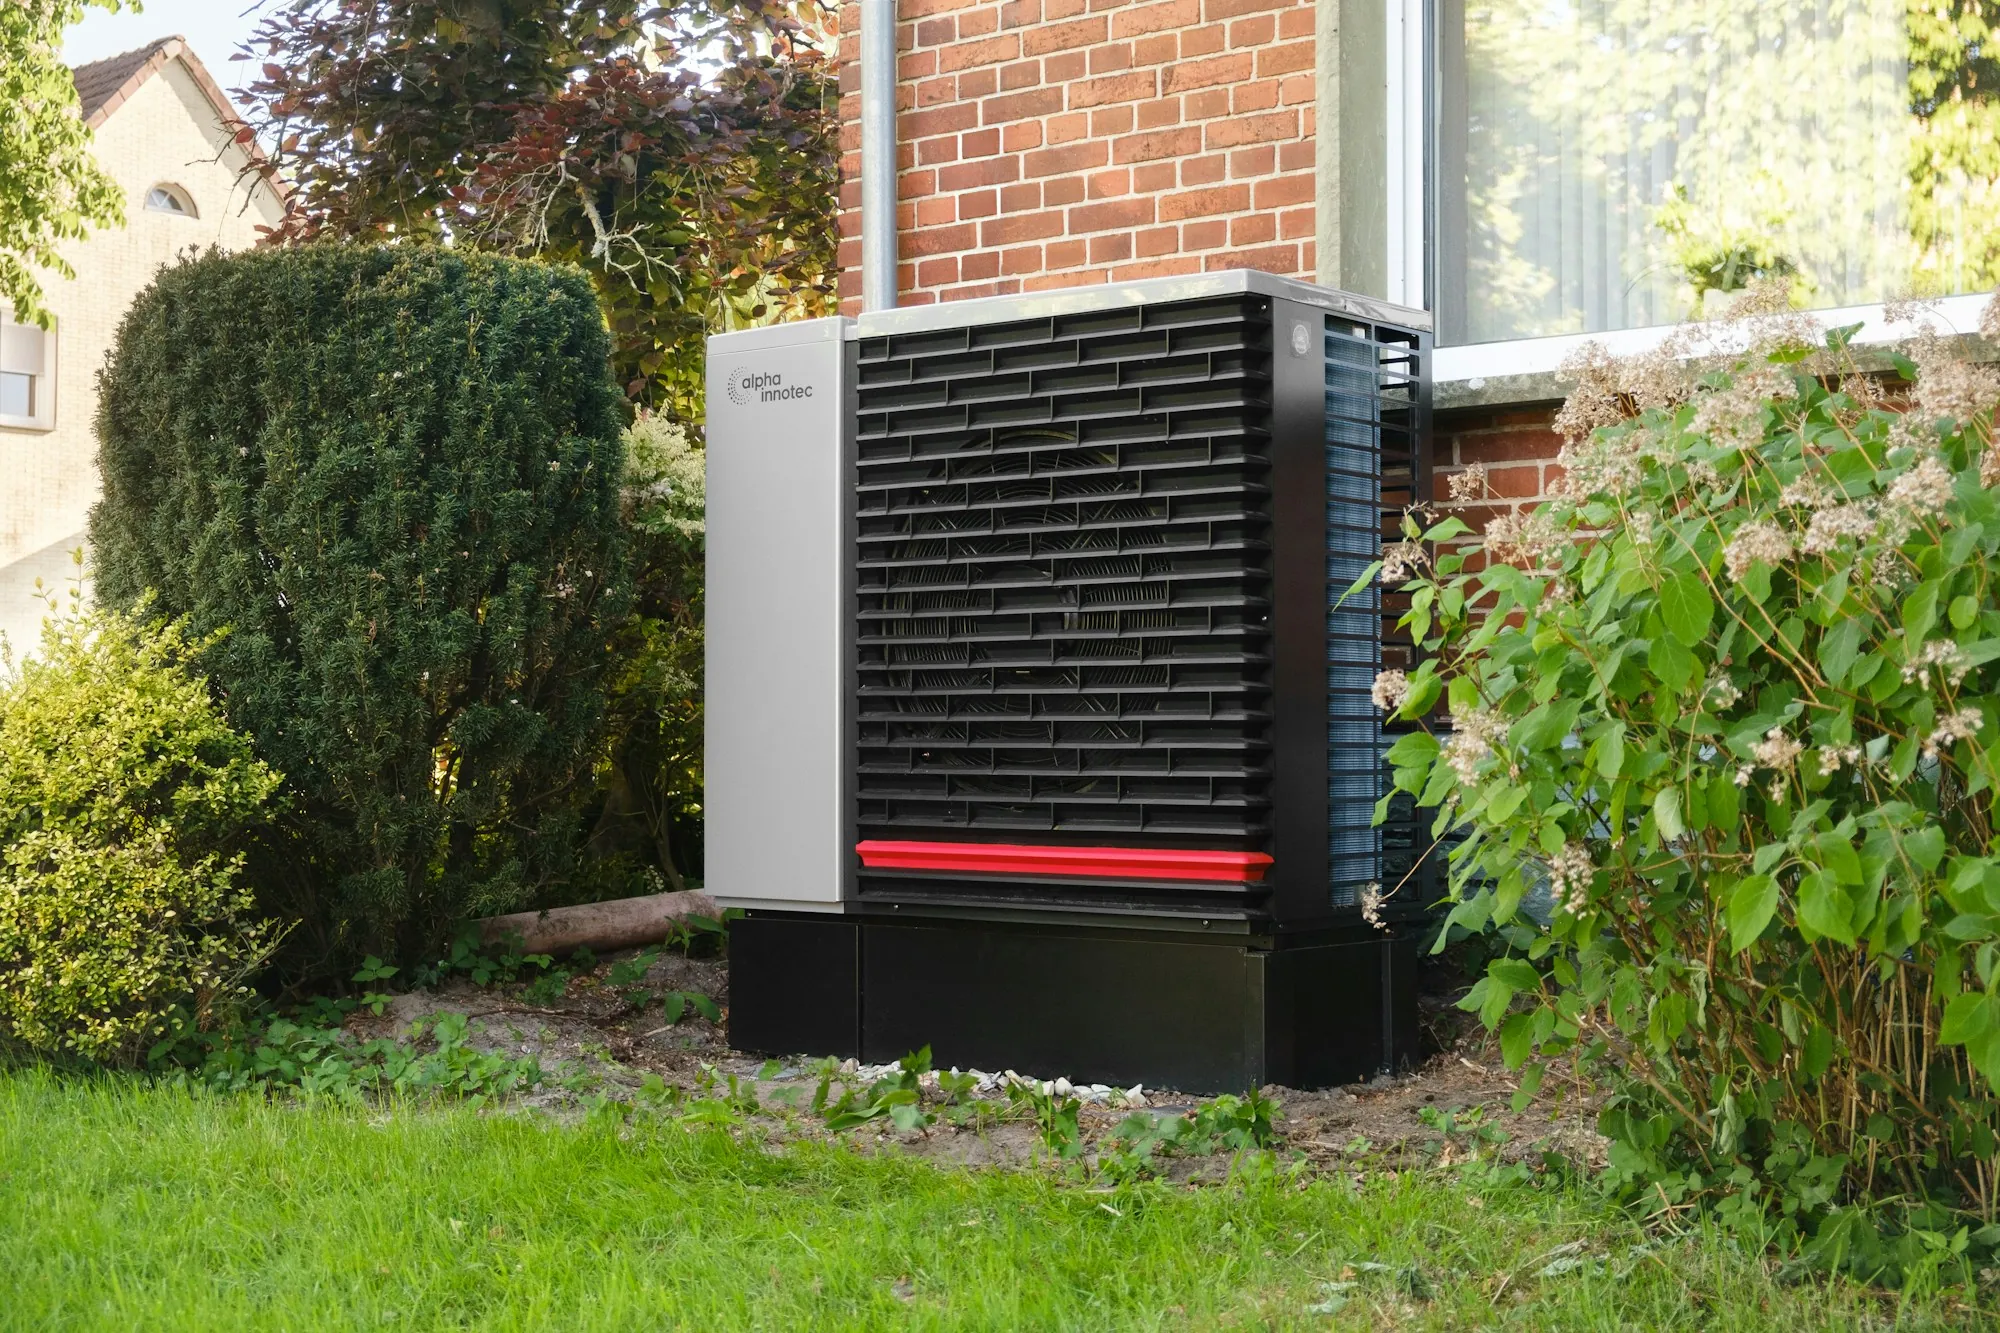
Ask the owner of an older Marblehead house what bugs them about winter and the answer rarely varies. Ground floor: fine. Second floor: cooler. Third floor or finished attic: another climate entirely. One boiler in the cellar pushing heat up through tired radiators or undersized ducts was never going to fix that. A heat pump installation can, if it is planned with care. We begin with the rooms, not the catalog. Each space gets its heat loss worked out from its size, glass, exposure and insulation, which tells us how much capacity it needs and where a head or supply register belongs. Sometimes that points to a ducted system feeding the house through existing or new ductwork. Sometimes it is a handful of ductless heads, one per zone. Often a blend. The units are cold-climate models, picked to keep producing warmth when the wind drives in off the water, and the same system cools the place in summer. Then comes the part we obsess over: the install. Condensers go on level stands where they can shed snow and stay out of the path to the door. Copper follows corners and trim and gets capped with covers. Every hole through the wall is sealed. Floors stay covered start to finish. Once it all runs, we test, set the controls and tour each room with you, so you actually know how to use what you bought.
What's in the Job
Details shift with the house. These parts almost never change.
Per-room load numbers
Every space calculated on its own, so nothing is starved for heat and nothing is oversized.
A drawn layout
Ducted, ductless or both, with each head, register and condenser marked where you can see it.
Cold-climate units
Models built to keep warming through the bitterest stretch of February, matched to the program list that applies.
Tidy routing
Copper and drain tubing tucked along corners and trim, then capped and painted where it shows.
Condenser placement
Stands or brackets tall enough to clear drifts, set away from windows and walkways.
Controls
A remote or wall control per zone, plus integrated controls if an existing boiler stays on as backup.
First fire-up
Charge, airflow and condensate drainage verified, and each zone run in both heating and cooling.
The tour
Every room visited together, each control explained and the filter routine shown before we leave.
How an Install Comes Together
Talk, then measure
A phone conversation about the house, the fuel and the rooms that annoy you. Then a visit to measure each space, check insulation and plot clean paths for every line.
Layout and price
A written plan showing units, placement, cost and the incentives we expect your address to qualify for, so you can weigh it calmly before saying yes.
Build and hand over
Condensers set, copper run and covered, controls wired, every zone tested. Then the room-by-room tour, and the program paperwork goes out.
Why the Install Matters as Much as the Unit
Capacity that fits
Equipment follows how your house loses heat instead of mirroring the old boiler.
Copper you barely notice
Routes get planned before the first hole is drilled, inside and out.
Nothing left a mystery
You finish the tour knowing which control runs which room and how to keep filters clean.
- Each room calculated
- Copper capped and sealed
- Heat and cool both tested
- Control tour included
Ready for an Upstairs That Feels Like the Downstairs?
Tell us which rooms run chilly and how the house is heated today. We will describe how a right-sized layout would play out in your rooms and what happens next.